Features
Part of Stargazing Trips Planning: A Simple Four-Step Method
A stargazing camera kit checklist: what to carry, what to check
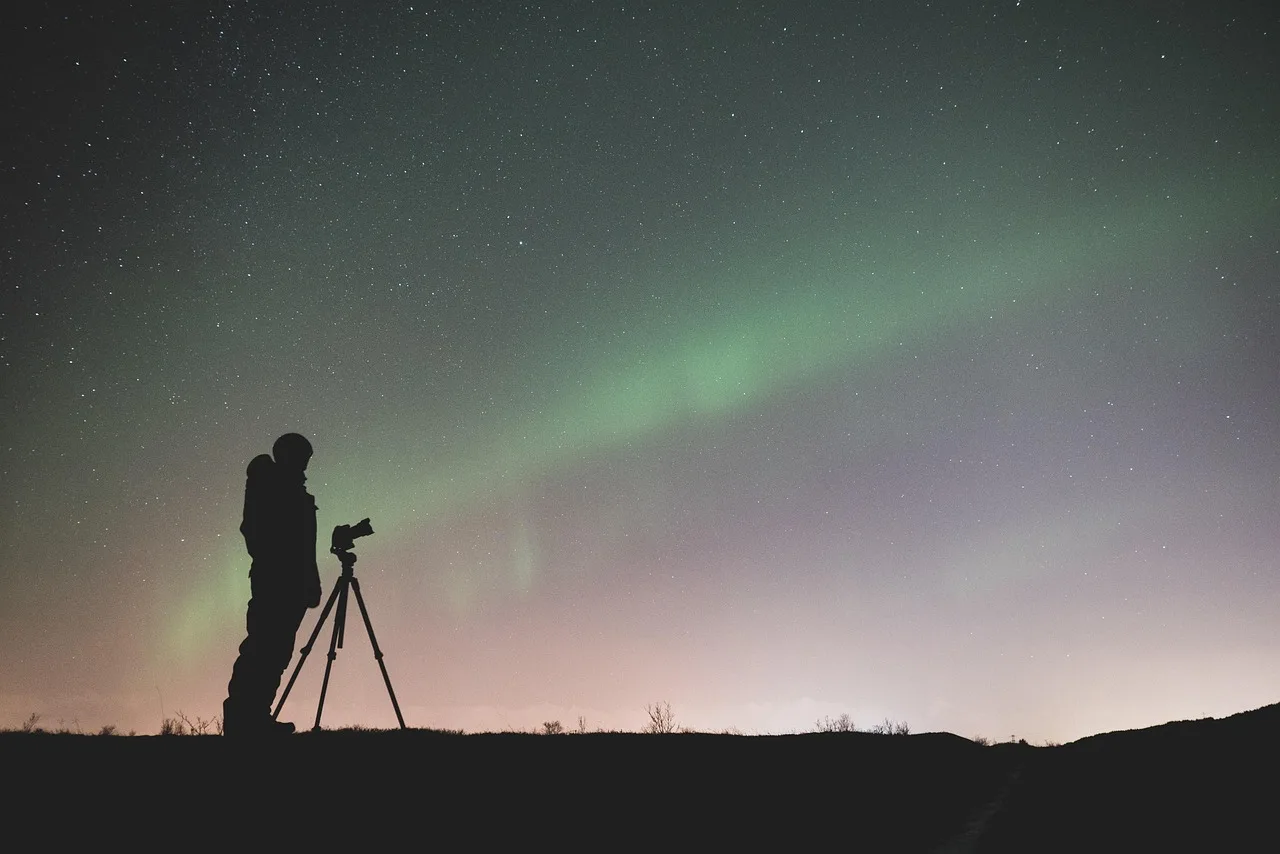
Photographer's field list for stargazing trips: what to carry and what to check before photographing a dark sky, tripod, manual focus, spare power.
Night photography punishes anything you forgot: no shop, no light to find things by, and no second chance at a meteor. A field list solves most of that.
But the list is only half the job; the other half is knowing which techniques a given park allows. Night photography's most popular trick is banned in some of the best places to try it.
What to take away
- A tripod, manual focus and a remote or self timer do more for a night image than any lens upgrade.
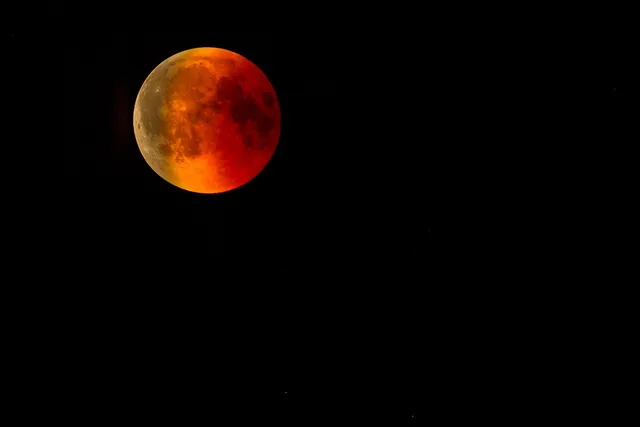
- Check the Moon and the forecast before choosing the date, since either can wipe out a shoot.
- Light painting is prohibited in some parks, so check the local rules before you point a torch at a cliff.
- Cold drains batteries fast, so carry spares somewhere warm.
The core kit
- Tripod, heavy enough to stay still in wind.
- Wide angle lens with the widest aperture you own.
- Remote release or the camera's built in timer, so pressing the button does not shake the frame.
- Spare batteries, kept in an inside pocket.
- Red headlamp, plus a small white torch that stays off unless something breaks.
- Lens cloth and something to slow dew, since a cold lens fogs quietly and you will not notice for ten frames.
NASA's guide to photographing a meteor shower walks through the same ground in ten steps. Its first instruction is the one people skip: check the weather and the Moon phase before going out, because clouds or a bright Moon can spoil even the strongest shower.
Whether a given year's peak falls near new Moon is worth checking early, since the shower dates are fixed and the Moon is not. NASA also recommends getting away from city lights, using a tripod and a wide angle lens, focusing manually, and being deliberate about where you aim.
Set the camera up in daylight
Focus is the classic failure. Autofocus does not work on stars, and a lens set to infinity by feel is usually slightly off.
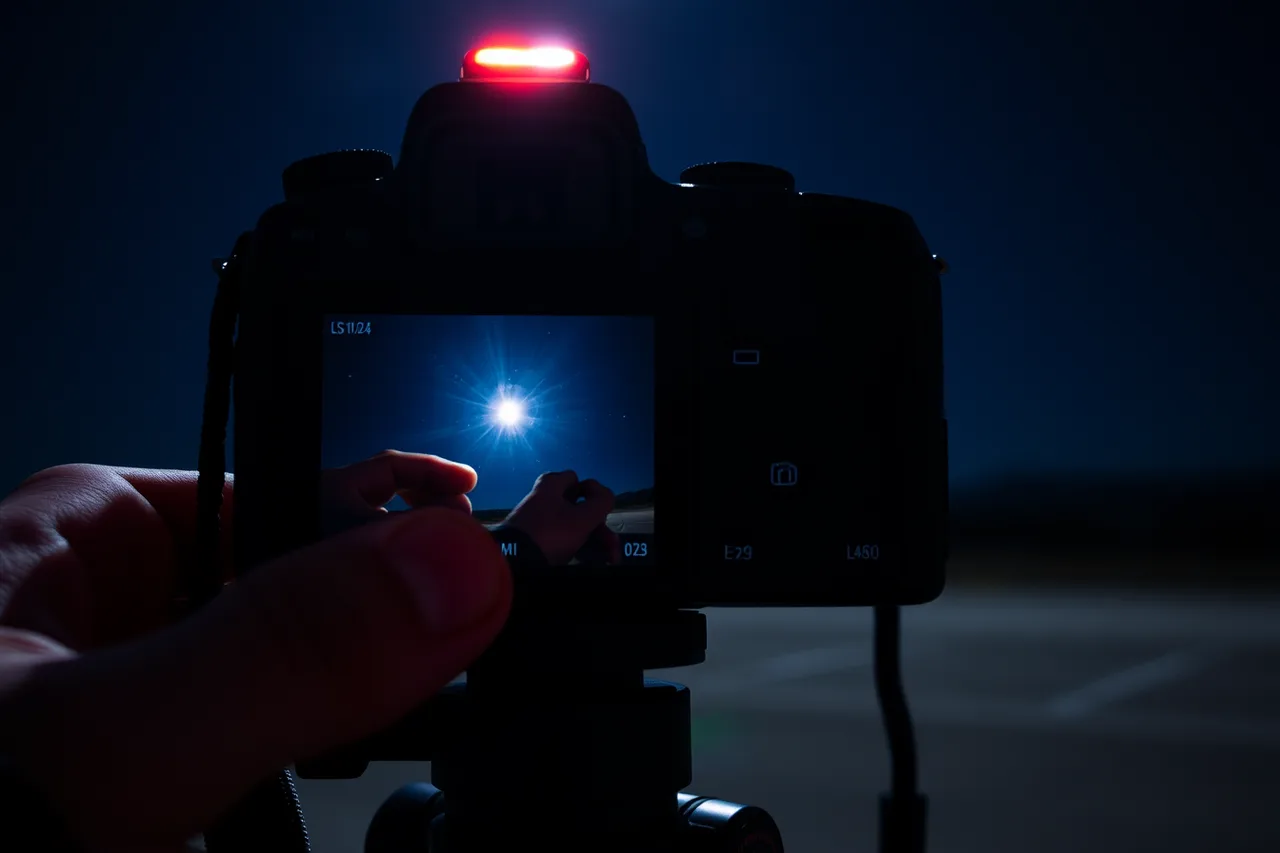
Focus manually on a distant object before dark, or on a bright star at maximum magnification in live view, then tape the focus ring. Do the same with framing: know your composition before you lose the ability to see it.
Exposure is a balance between collecting light and letting stars trail as the Earth turns. Shorter focal lengths tolerate longer exposures. Test at the site during the first hour rather than guessing.
Check the rules before you light anything
Light painting, where a photographer illuminates a foreground with a torch, is popular but not universally permitted.
Capitol Reef National Park's night sky page says the park's Superintendent's Compendium does not permit it. The page also notes the park became an International Dark Sky Park in 2015, and roughly thirty percent of vertebrates are active at night.
Assume nothing. Each park publishes its own compendium, and a rule that applies in one unit may not apply in the next one along the road.
Field manners
Others are trying to keep their night vision, so keep screens off or dimmed to red. No white light without warning the group, and no headlights swung across an observing area.
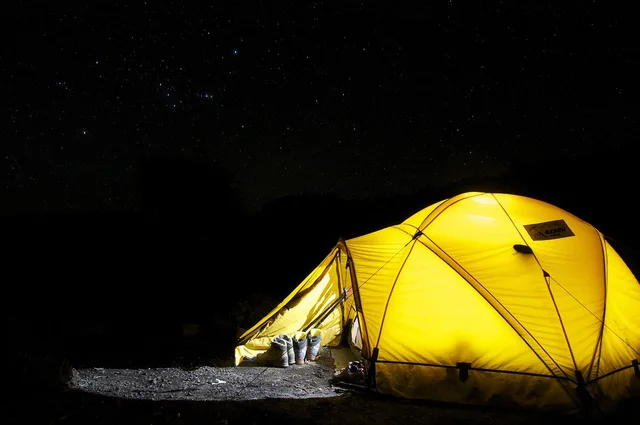
Park facing away from where people stand, and if you must leave early, roll out slowly with parking lights. Most friction disappears when you are shooting from the property you are sleeping at, a different list again.
The rest of the trip planning, including how to pick the week, sits in our guide to planning stargazing trips, and the beginner errors that cost the most time are collected in what first-time visitors miss.